Hello, Friends! Today I have a super exciting post. It's something I wouldn't normally post, but I had so much fun putting it together, I thought it would be silly not to share! Today we will be zeroing in on the tassel trend. Who is ready to DIY?

How cute are these bracelets? It only takes a few steps to make these pretties.

About a year ago, I was browsing Bauble Bar on the internet. They sell the cutest jewelry. I stumbled upon these gorgeous tassel bracelets. However when I saw that this set was selling for $62 I knew my wallet would not be happy. I immediately went to my local craft store and bought the materials to try to make some for myself.

What you will need:
- scissors
- stretchy bead cord (buy here)
- small glass beads (buy here)
- jump rings (buy here)
- larger beads (buy here)
- sequins (buy here)
- embroidery floss (buy here)
- super glue
- clear nail polish
All of these supplies will be at your local craft store. I purchased mine from Hobby Lobby. Find a coupon here.

Step 1
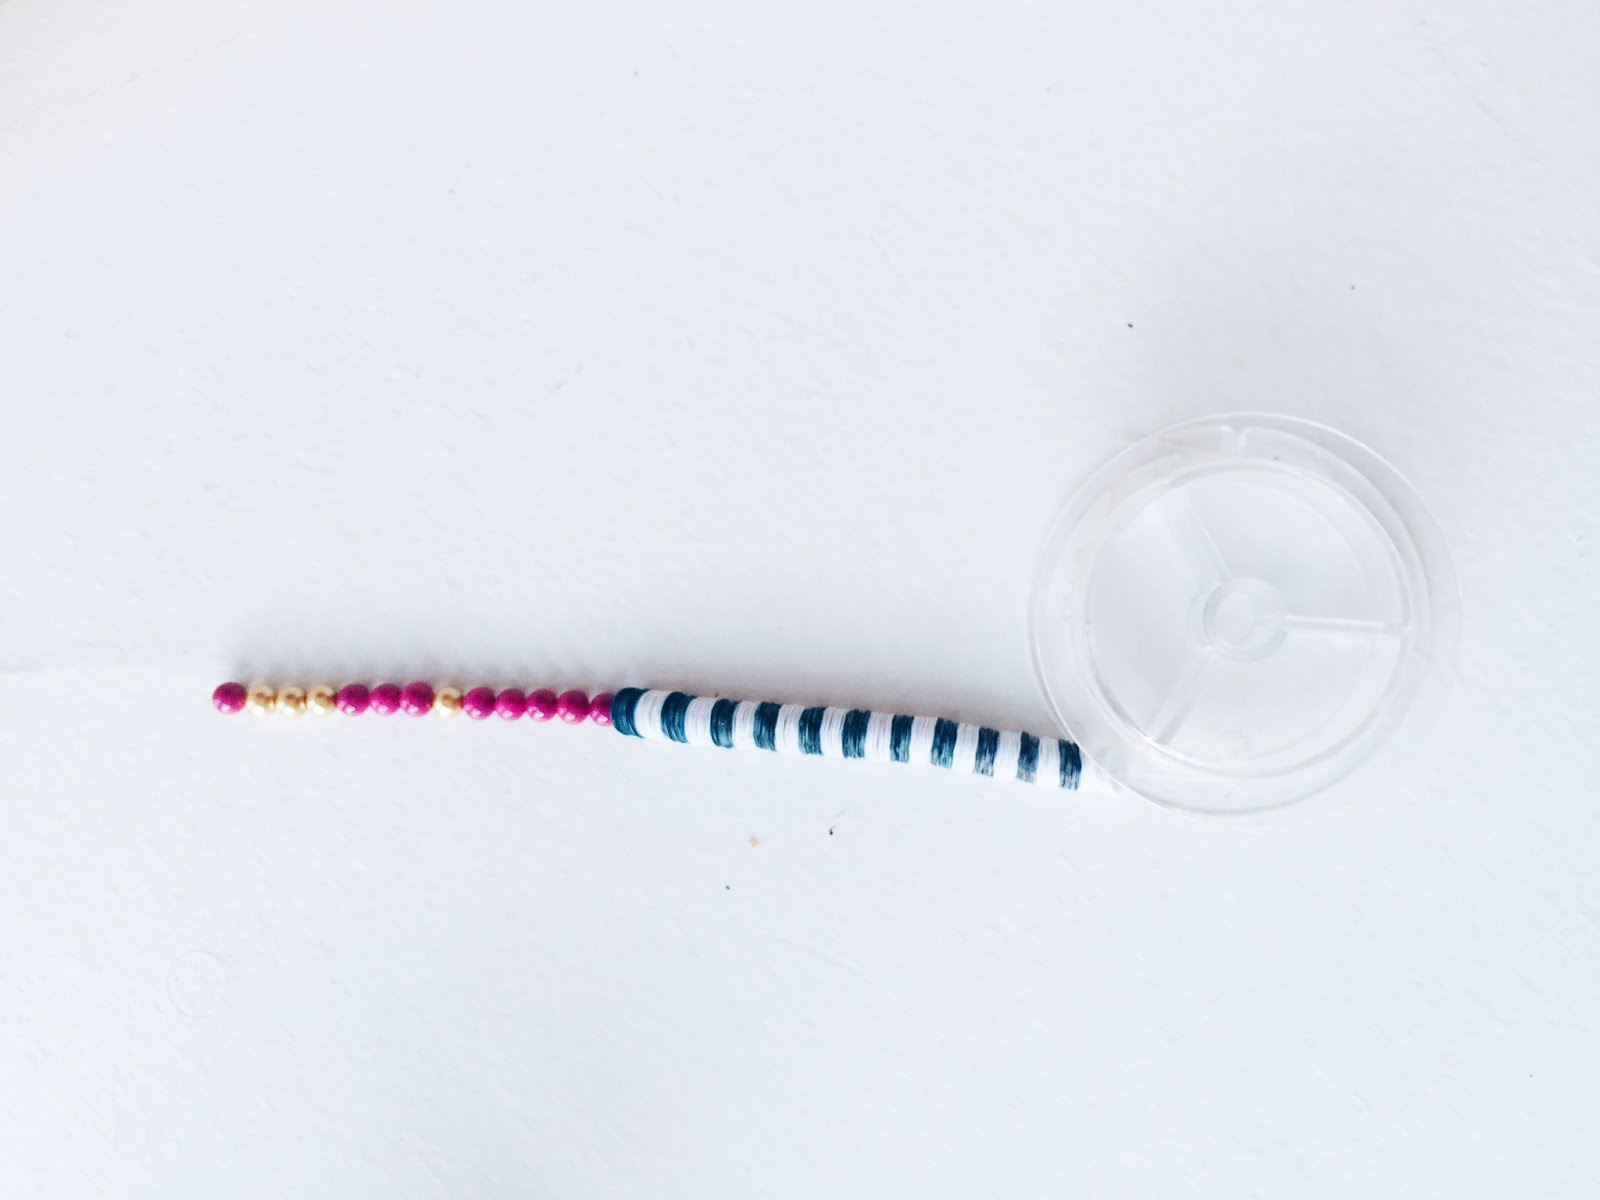
Start by stringing sequins onto the stretchy cord. (I prefer not to cut my string until the very end) I use 10 sequins per stripe. Get creative, try both larger and small stripes!
Step 2
Once you have your desired amount of sequins, add some larger beads. For this bracelet, I decided not to do a pattern. This gives the bracelet a funkier vibe.

Step 3: Making the tassel
Wrap the embroidery floss around 4 fingers 16 to 20 times.

Step 4
Cut the excess string.

Step 5
Slide the floss cluster off your fingers.

Jump rings are used in the next step. They look like this. (see circled region)

Step 6
Slowly separate the jump ring using your fingers or pliers if needed. Once the jump ring is separated far enough, slip the string through the opening you just made. Once all the string is in the ring, close the ring back up. (see picture above)

Step 7
Measure 6 inches of embroidery floss. Try using a different color of floss than your original tassel!

Step 8
Double knot the floss you just cut a centimeter away from the jump ring. Cut off excess string.

Step 9
Slip your scissors through your tassel's loop and cut the loop on the opposite side of your jump ring.

Step 10
Give your tassel a hair cut. Cut your tassel to your desired length.

Step 11
In order to make sure the tassel doesn't fray at the top, secure the tied area with a bit of clear nail polish.

Step 12
String your tassel onto your bracelet.

Step 13
Cut the string from the spool leaving enough room to tie the bracelet. String a bead on the side with your first set of sequins. This will make your bracelet more secure.

Step 14
Double knot the two ends together. Super glue the knot and the surrounding area.
AND WA-LA! YOU DID IT!

These bracelets are also super cute without sequins. This gives the bracelet more delicacy. I used tiny glass beads on these. Follow the same steps to create this bracelet.

Wear 'em & Stack 'em!
See! These bracelets are super simple and the supplies cost under $30. Trendy doesn't have to be expensive! I had so much fun making this post for y'all. Let me know if you would like to see more DIYs in the future.
Have fun DIYing
xx, Anne

0 comments:
Post a Comment